How to check and replace the brake pads of a motorcycle
Updated on | By Mohit Chauhan
Not only for cars, but the modern braking systems are widely available for motorcycles as well. They ensure safer deceleration, even at higher speeds, and as a matter of fact, this advanced mechanism allows you to stop the motorcycle much faster than with a conventional brake.
When you take a look at the current motorcycle braking technology, you will notice that disc brakes are now becoming more and more mainstream. In recent years, statistics have shown that disc brakes reduce the risk of accidents by shortening the braking distance (provided you know your way around it).
However, brake pads and discs are susceptible to wear, they are required to be inspected and replaced from time to time. While many riders generally take things for granted, this can also result in serious malfunction and fatal accidents.
Today, we are going to discuss everything related to brake pads of your motorcycle.
How does the motorcycle braking system work?
In motorcycles, a conventional “friction braking system” is used. It converts kinetic energy into thermal energy. As the brake pads press against the disc or drum, they generate friction, causing the vehicle to slow down. The brake oil in this process transfers the pressure exerted on the brake pedal to the brake on the wheel.
Also see: How to apply motorcycle brakes
How often do brake pads and discs have to be changed?
Most modern brake pads typically last anywhere between 40,000 and 80,000 kilometers. However, the rate at which they wear depends on the riding style, the model of vehicle, and the road conditions. In addition to mechanical wear, environmental factors (like corrosion) can also lead to irreparable damage.
When it comes to older models, the brake pads usually need to be replaced much earlier and independently of the discs. In modern motorcycles however, the pads and discs are usually replaced at the same time.
Brake pads and discs are perishable parts that wear out over time. Moreover, disc brakes are subjected to high mechanical and thermal stress. For this reason, the functional performance and wear condition of the brake system should be checked at regular intervals. We recommend that a thorough examination of the braking system is conducted every once in a while, ideally while inspecting the tires for punctures or flats.
If the brake pads have less than two millimeters of thickness, then they should be replaced immediately, while drum brake pads only need to be replaced if they have less than one millimeter of thickness.
Advice: The life of a brake pad is not determined by its mileage, but by the way it is driven and the stress it is subjected to. If you ride under normal conditions, you can expect your brake pads to last between 60,000 and 80,000 kilometers.
Also note that a dynamic riding style, with frequent as well as heavy braking, can cause them to wear out just after 10,000 kilometers. The road surface also plays an important role: Understandably, riding over flat terrain subjects the brake to less strain as compared to mountainous territory. Urban traffic also causes more wear on the brakes, since the frequency of braking increases considerably. However, motorcycle owners should not rely solely on inspection and signs of wear, but should monitor the braking behavior as well. After all, besides their own use and the associated braking behavior, the pads are also exposed to additional stress such as heat and moisture.
How to change the brake pads on a motorcycle?
The brake pads are the part of a motorcycle that is subjected to a lot of stress and wear. So, if you are an urban commuter, enduro rider, or a track bike racer you will need to change the brake pads more frequently, since you will be braking constantly as well as rigorously. However, the good news is that it’s very easy to do so and you do not require any specialized tools to do it.
Things you will need
- Brake piston retractor
- Torque wrench
- Ratchet with appropriate nuts
- Screwdriver and pliers
- Brake cleaner, cleaning brush, rags
- Copper grease
- New brake pads
- Gloves
This is how you replace the brake pads:
Step 1
Before starting, spread old rags over and around the motorcycle. Especially cover the tank so that the brake oil does not corrode the paint. If you have any means to raise the motorcycle, you won’t have to bend down to change the brake pads.
Now, park the motorcycle so that the brake oil container is in an upright position. This prevents any fluid from escaping when you open brake calipers.
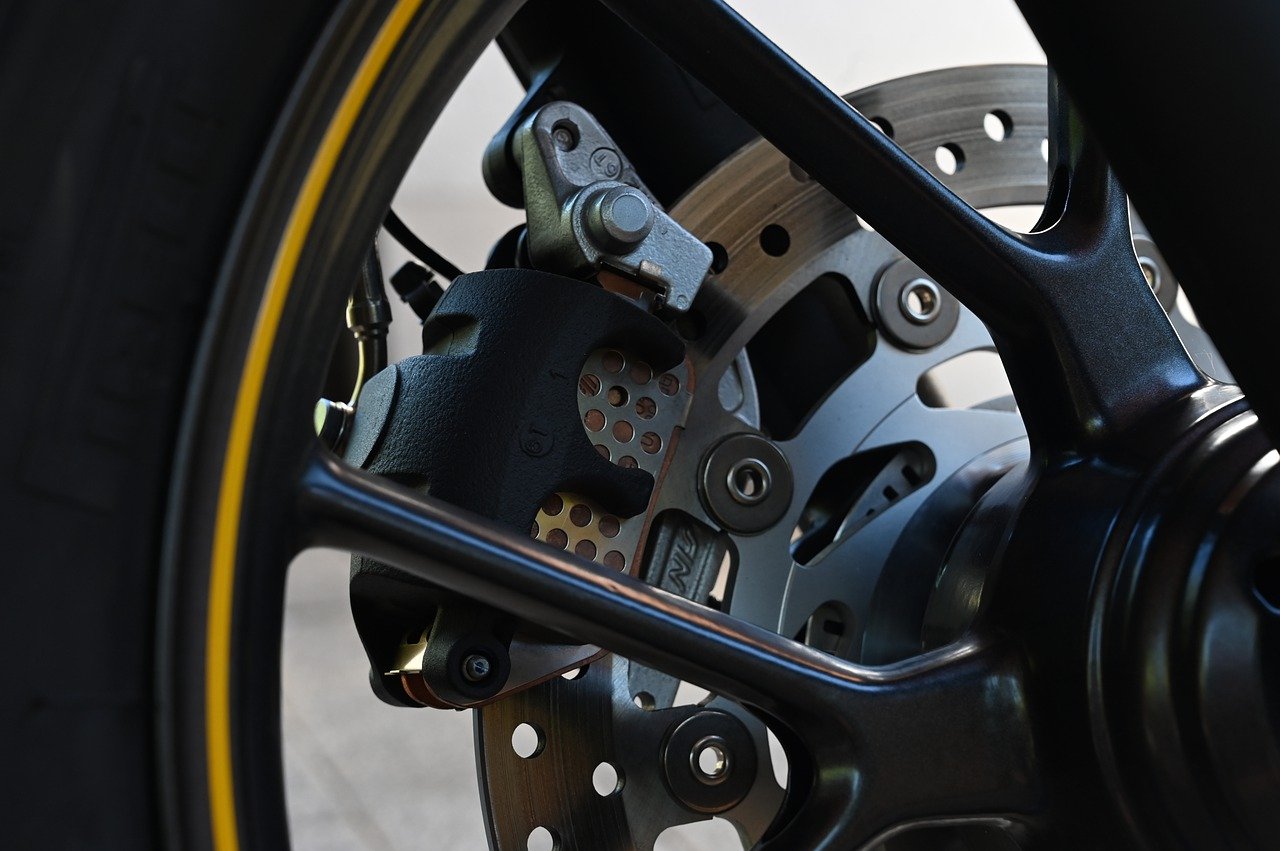
To inspect the brake pads yourself, you will need a flashlight. Direct the light onto the brake caliper from below or from the front, and you will be able to see the brake lining. If the brake pad appears to be too thin (rule of thumb: less than two millimeters), you will have to replace it. Some brake pads even use colored markings for reference.
Step 2
Loosen the screws of the brake caliper. Keep an eye on the brake fluid while you are unscrewing and make sure that nothing leaks or overflows. It is also important not to leave the brake caliper hanging, because it is still connected to the brake.
Step 3
The brake pads are held firmly in the correct position inside the brake caliper by a “retention pin”. This retention pin is plugged or screwed in to prevent the brake pads from unscrewing or falling out. Before dismantling the pads, the retaining pin must be removed. The retaining pin can be a metal pin that is pulled out, a grub screw that is screwed out, or a small washer that is pulled off.
Step 4
Next, you need to remove the old brake pads. A look at it will also tell you if you need to change the pads. Usually, brake pads have vertical ridges, if these are no longer noticeable then replacement is apparent.
Note: Never operate the brake lever when the brake caliper and/or brake pads have been removed! The brake pistons will otherwise slide out freely and will have to be pushed back into the brake caliper with considerable force. They may even slip out of their bores altogether.
Step 5
The next step is to thoroughly clean the inside of the caliper and brake pistons. This can be done well with an old toothbrush and a good brake cleaner.
Step 6
Retract the pistons back using your hands so that there is enough space for the new pads to fit in. You may need to create an additional space this time since the new pads will be considerably thicker than the previous old pads.
Keep an eye on the brake fluid, while retracting the pistons there is a chance some oil may overflow. It is best to remove some excess oil beforehand to avoid spillage.
Step 7
Now that you have repositioned the piston, you can install the new brake pads. Before doing so, apply copper grease evenly to the rear side of the new brake pads. This will prevent the brakes from squeaking. Then insert the new brake pads one by one, using something non-metallic to push them apart, and screw everything back together.
If any copper grease oozes out, remove it with an old rag. To finish everything off, reattach the brake caliper to the fork leg.
Note: In case your motorcycle does not have a self-centering mechanism when you put the caliper on, then you can do this by putting the caliper loosely on the motorcycle and applying brakes for a bit. This will automatically center the caliper and you can screw it back on. Now tighten the whole thing again with the torque wrench.
The procedure for the rear wheel is the same.
Things to remember while changing the brake pads
- Always change brake pads in pairs on each wheel. A set of brake pads usually consists of two pads per disc. Only in a few cases are small individual pads installed, i.e., one brake pad per brake piston.
- Never use brake pads of different sizes or thickness, or from two different manufacturers on the same caliper. The same applies to dual disc brakes mounted on the front wheel; only use the same pad types and same thickness on the left and right.
- If any perforated discs, steel, or Teflon plates were mounted on the underside of the old brake pads, these must be reattached to the new brake pads in the same position. These help to keep a proportion of the heat generated during braking away from the brake pistons and the brake fluid.
- Consult your authorized dealer before using aftermarket brake pads. After all, dealers are well informed about the current standard of aftermarket brake pads. Also, brake pads that have not been used for a long time or have been damaged in an accident should be replaced immediately. And even though the brake calipers usually do not have to be dismantled to change the pads, it is advisable to do so because the inside of the caliper often needs a thorough cleaning.
Tips for cleaning the brake calipers
- Use special brake cleaners instead of petrol to clean the brake calipers and brake discs.
- Brake cleaners are both aggressive as well as toxic, so make sure that there is sufficient ventilation in your garage.
- Before using brake cleaner, cover all other components with a piece of cloth. Alternatively, you can hold the caliper in a clean cloth before spraying the cleaner.
- Use brake cleaner in a controlled and sparing manner, directing the spray head directly onto the area to be cleaned.
- Thoroughly clean the parts as soon as they have been sprayed with brake cleaner. Use a soft rag and a small brush for this purpose.
- Avoid blowing pressurized air towards the brake caliper since brake dust is harmful to health.
Things to remember after changing your brake pads
While opinions differ to some extent, we recommend that you begin with gentle braking after replacement of the brake pads: To achieve the optimum braking effect, the brake pads and discs must be in full contact during the braking process. It is therefore advisable to apply the brakes several times in succession at low speed in order to align the new brake pads with the surface of the brake discs.
Although, how often and for how long you should plan to ride like this depends on your pads and your bike, however, you should plan on doing so for at the least 100 kilometers. Up until then, you should avoid prolonged heavy braking if possible.
Lastly, allow your braking components enough time to cool down after each braking process.
How to choose the right type of motorcycle brake pads
The braking system is one of the most essential equipment on a motorcycle. It is the one that saves us during emergency, and the one to which we entrust our own life. However, it is one of the components that most of us take the least care of. Aside from maintenance check performed during servicing, most motorcyclists don’t really care about the state of their braking system, or whether they are optimal for the specific purpose.
To top it all, there are some preconceived notions about the quality of brake pads, but these are never associated with their context of use.
Brake pads are important elements of the braking system on which the safety of all road users depends. Therefore, you should make your choice responsibly. Basis their usage, we have elaborated the different types of motorcycle brake pads that are currently available in the market.
Ceramic pads
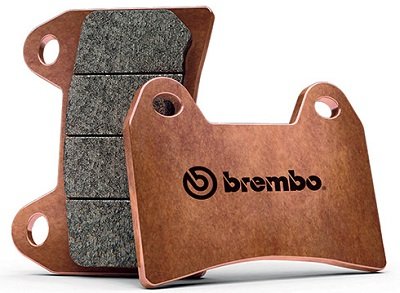
The composition of ceramic brake pads includes ceramic fiber, non-ferrous metal, and synthetic rubber. These brake pads provide a constant coefficient of friction while being less abrasive. These are the best choice for riders with an aggressive riding style. However, they are more expensive than the other types of pads.
Pros:
- Super quiet
- Light in weight
- Durable and emit least amount of brake dust
- Optimized braking behavior
Cons:
- Poor heat diffusion
- Very expensive
- Difficult to maintain
Organic pads
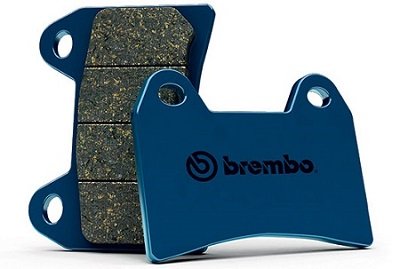
These are the conventional motorcycle pads, which are often installed by the OEM’s. They are made from combination of fibers (materials such as natural rubber, carbon or Kevlar) which are amalgamated with the help of resin (if the amalgam is made of metal powders, then it is sometimes called semi-sinter). These organic pads are designed to have greater braking power when the disc is cold, because the composition of the pad ensures that it adheres perfectly to the disc right from the start.
Pros:
- They have the advantage of being “gentle” than sinter pads with a uniform and slightly smoother braking.
- They do not require warming up to be effective.
- These pads can be mounted on all types of discs, making them universal.
- They are ideal for daily use and are excellent for urban riding.
Cons:
- They tend to wear out faster.
- They are less efficient at high temperatures; maximum usage temperature is 400°C.
- Less efficient than sinters because they are less effective while hard braking.
Sintered pads
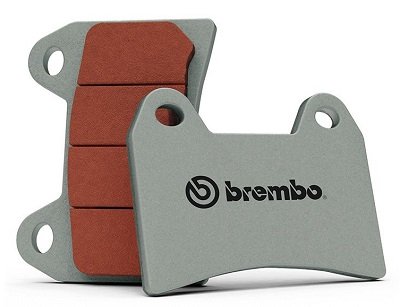
Sintered brake pads for motorcycles, on the other hand, have a very different composition. Besides the materials used for the part that comes into contact with the calipers, the material in contact with the disc is also different. The pad is obtained by sintering (hence the name), which is a process that combines different metals to form a single, compact block. This kind of pad is also called ‘semi-metallic’ because it comprises mostly metal and some organic parts.
Pros:
- They are hard, which increases their longevity, especially useful for bikers who require aggressive braking.
- Their operating temperature is higher (600°C against 400°C for organic ones) which allows them to be used on the racetrack.
- They are ideal on the slopes or during extended braking sessions.
Cons:
- Not suitable for motorcycles with cast iron discs.
- Sintered pads are not compatible with every motorcycle.
- Although they are more durable than the organic pads, however, due to their hardness, disc often gets damaged.
Cost involved in changing the brake pads
If you are planning to change the brake pads on your motorcycle yourself, you will need the right set of tools, such as a torque wrench and, if possible, a tool to reset the brake piston. You will also need to factor in the cost of the new brake pads. Depending on the caliper and your motorcycle model, the price for a pair of brake pads varies from $40 to $80. And if you are planning to get them changed at a workshop, the cost will rise to $100 to $150, depending on the facility and the complexity of the work involved.
Inspection & maintenance tips
- To inspect your brake pads, always check their thickness by simply looking at the brake calipers from the front.
- Other common signs of wear include loose compression and increased lever travel.
- When used aggressively, the brake pads should be changed periodically.
- While reinserting new brake pads, the rear pad should be covered with a thin layer of copper grease. This helps to reduce the amount of noise generated from friction. However, it is important that the grease does not get in contact with the disc.
- High frictional forces are generated around the brake lever bearing points. Therefore, the pins of the brake disc must always be well lubricated with high-pressure grease.
- Badly fitted clamps are often the cause of sluggish brake performance. When adjusting the width of the grip, use all possible settings to find the optimum position for the most responsive braking.
- Brake fluids should be changed at least every two years: The most common cause of defect in the braking mechanism is an overly aged brake fluid. This causes the boiling point of the fluid to drop, which decreases the performance of brakes considerably. So, make sure you replace it periodically.
- The type of brake fluid that can be refilled is indicated on the reservoir cap. Contact your dealer if you are unsure. But before changing the fluid, the system should be thoroughly flushed.
Bottom Line
As brake pads on a motorcycle wear during operation, their performance must be regularly checked to ensure that they are not degraded. Depending on your riding style, usage, and mileage, you may need to replace your motorcycle brake pads. A visual inspection is the best way to determine the extent of wear.
Once the thickness of the pads reaches a value of 2 mm, they must be replaced. Lastly, any type of maintenance work should be carried out by self only if you know your way around. In case not, it is best to have the brake pads changed by a professional. Good luck!